To use this feature, the Calendar tool must be activated for the organization. Contact support@exacthire.com to discuss adding this feature.
Once the feature has been activated for the organization, each user will need to integrate their calendar to their user profile.
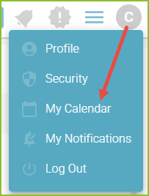
- Click on the Profile icon and then on My Calendar.
- Add a Calendar by selecting the appropriate calendar provider. Multiple calendars may be added, as needed.
- Please note: Each user from the organization who syncs at least one calendar will occupy an individual calendar seat. Reference the agreed package for the number of seats available to the organization.
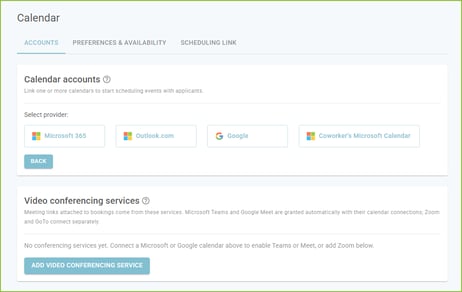
- Follow all subsequent prompts related to email account and security to connect to the calendar provider.
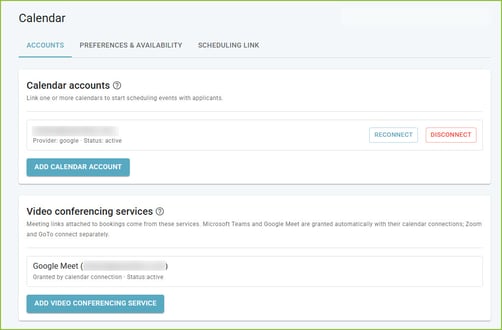
- The calendar account will sync with the ExactHire ATS. Once the calendar is synced (ACTIVE) to the ExactHire ATS, the user will be able to complete the additional preferences found in the Preferences & Availability and Scheduling Link tabs.
- The user may add other calendar accounts as needed using the Add Calendar Account button.
- The user may disconnect the calendar at any time using the Disconnect button.
- The user may add Video Conferencing Services as needed using the Add Video Conferencing Service button.
Preferences & Availability
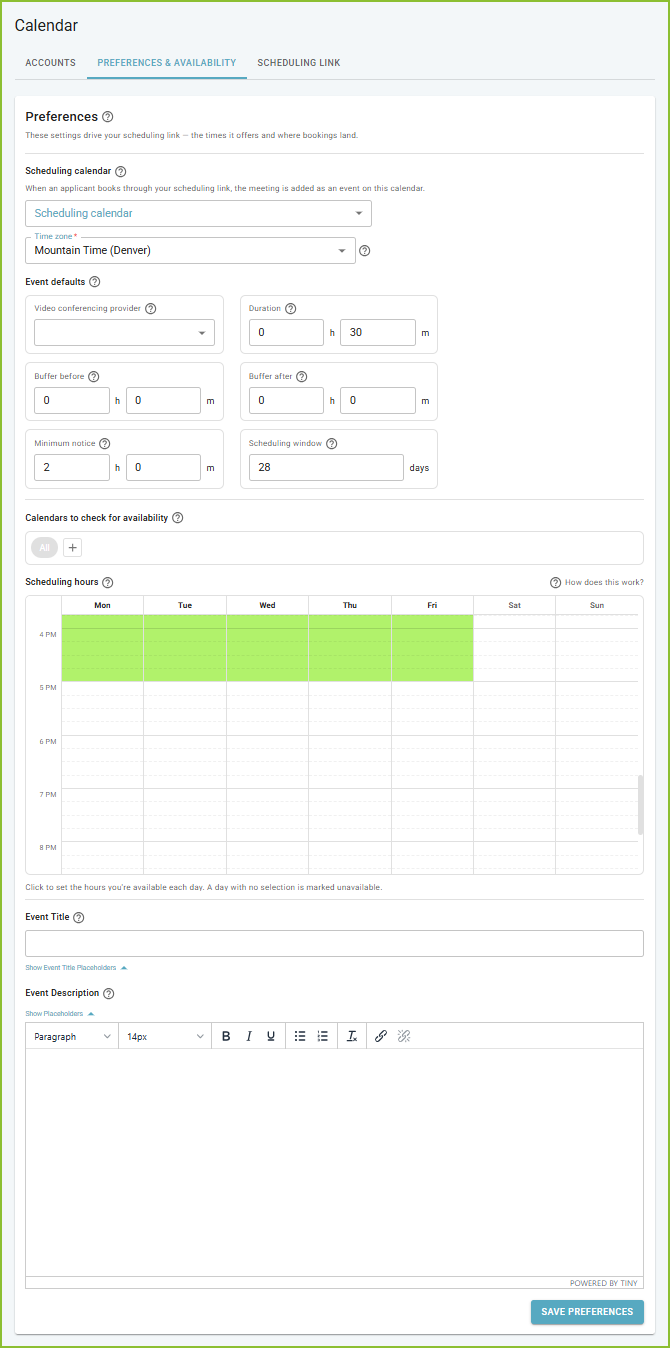
- Select the Scheduling Calendar to choose which calendar the event will be added to.
- Adjust the Time Zone for scheduling, as needed.
- Select Event Defaults to automatically include video conferencing, select standard meeting duration, add buffers before and after an event, set minimum notice, and scheduling window.
- Select Calendars to Check for Availability.
- Select Scheduling Hours, the green slots are the hours you are available each day.
- Set a default Event Title and Event Description if desired.
- SAVE PREFERENCES.
Scheduling Link
-
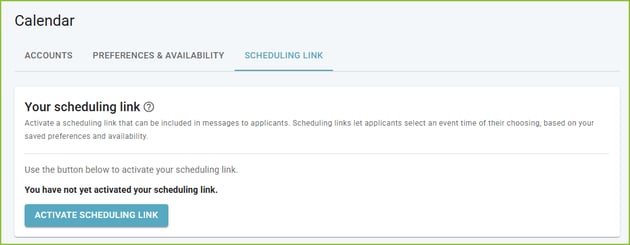
Users may Activate a Scheduling Link to allow the applicant to select an event time of their choosing. This will create a custom scheduling link to be shared to applicants in messaging.
-
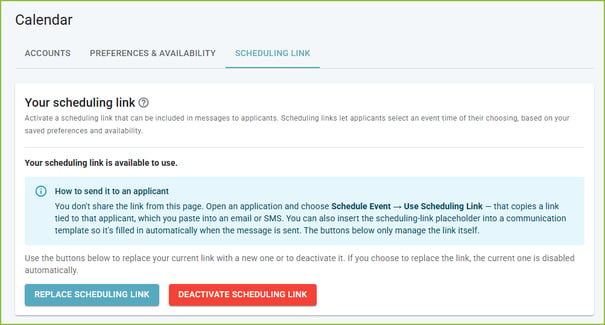
Users may replace the scheduling link if new preferences are set or deactivate the scheduling link at any time.
Create an Event with an Applicant
-
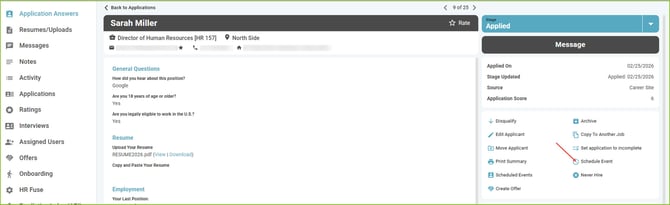
Create an event with an applicant within the Applicant Record by clicking Schedule Event.
-
Select the type of scheduling desired for the Event.
-
Copy Scheduling Link to allow the applicant to self schedule using your scheduling link.
-
Create Event Request to offer selected times to the applicant.
-
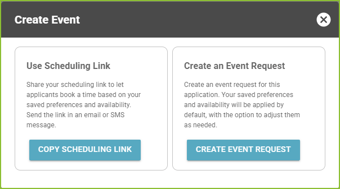
Copy Scheduling Link
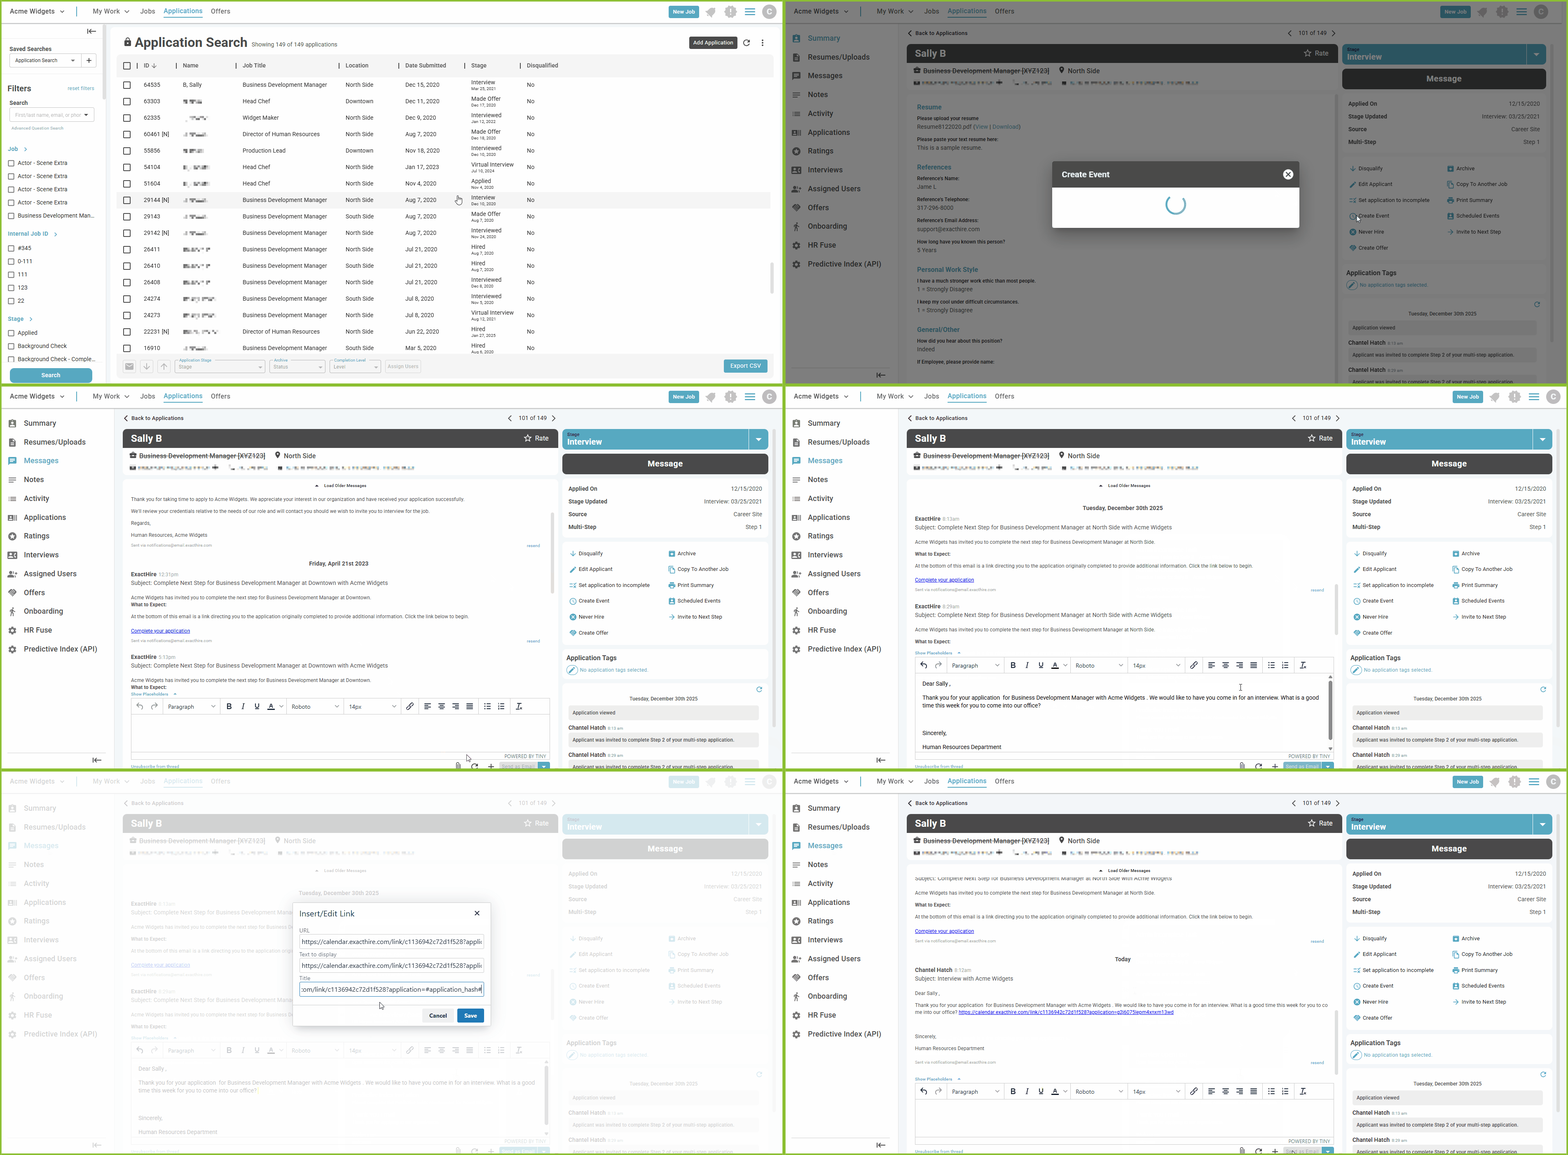
-
Click the Copy Scheduling Link button and the custom scheduling link will be copied to your system clipboard.
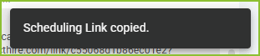
-
Paste the link into any message sent to the applicant. The applicant will access the link provided in the messaging and proceed to select an event time.
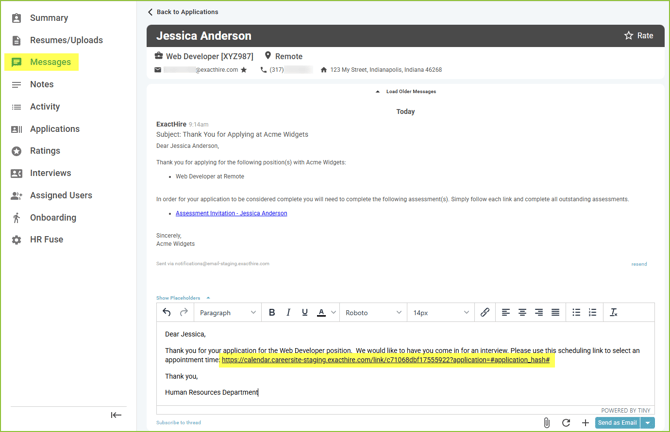
Create an Event Request
-
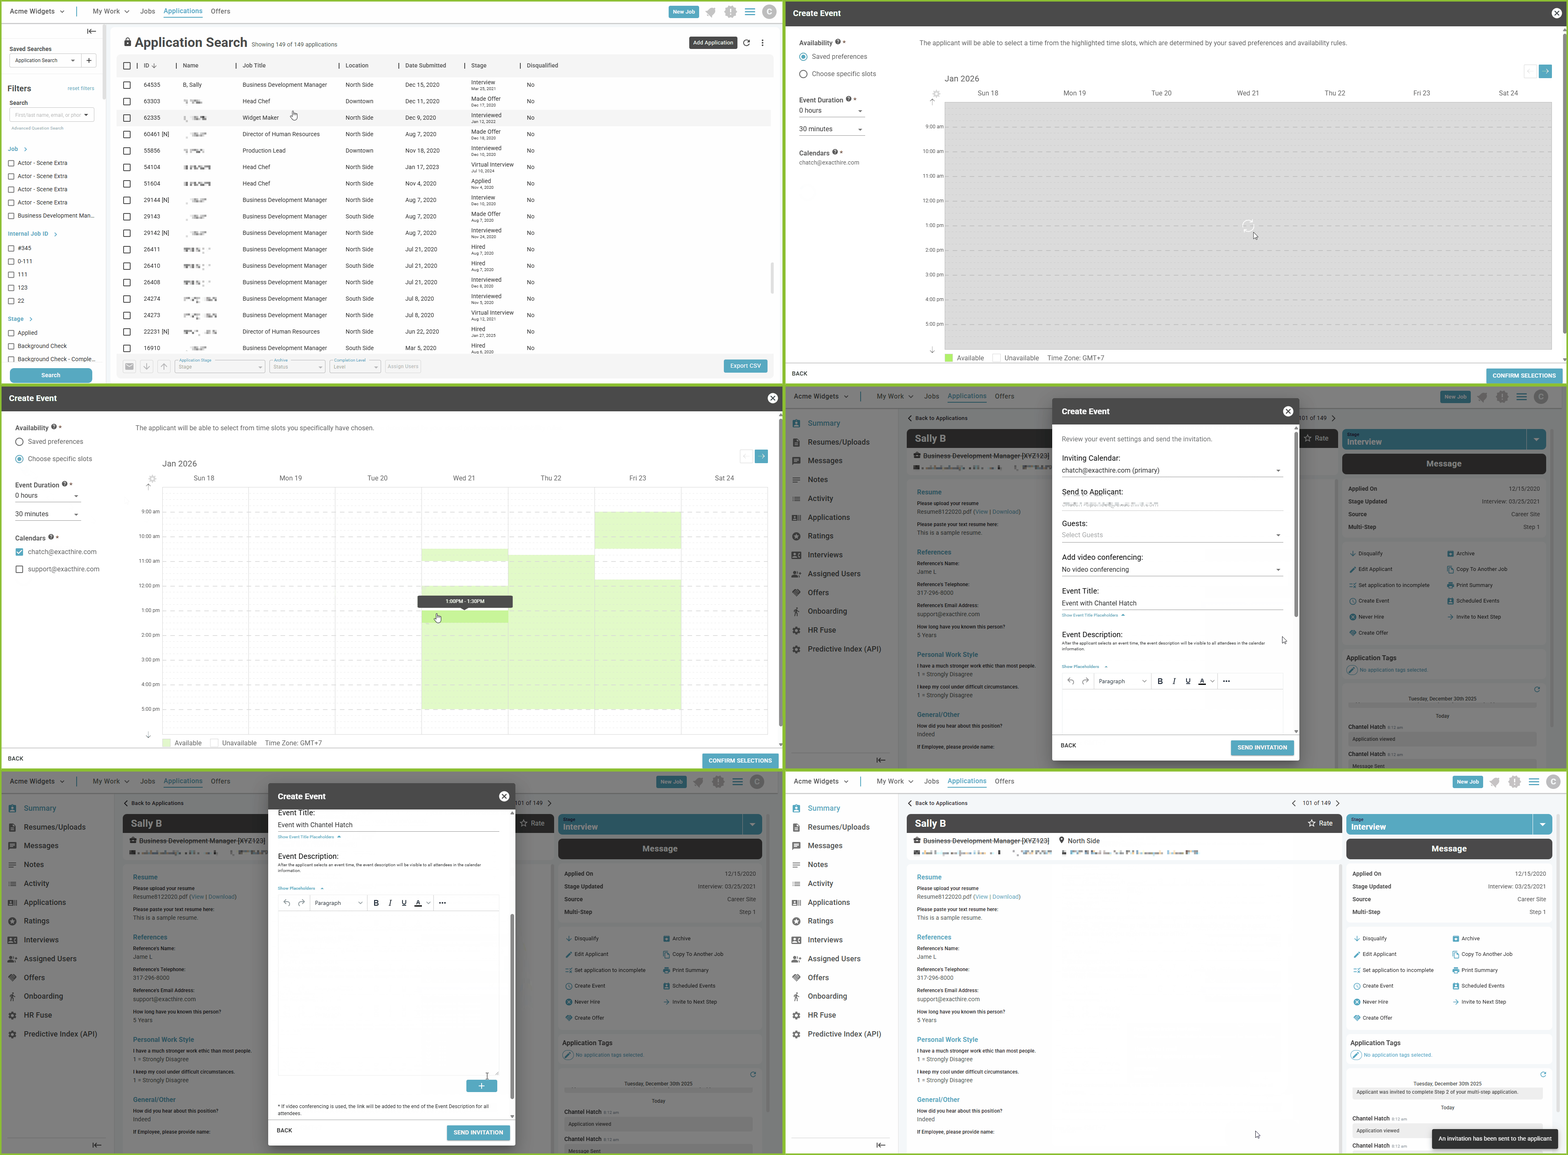
Click the Create Event Request button. Then select either My Preferences or Choose Specific Slots and the Event Duration.
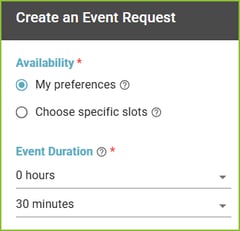
- Selecting My Preferences will send the Scheduling Link to the applicant and allow the applicant to self schedule an event based on your preferences and availability.
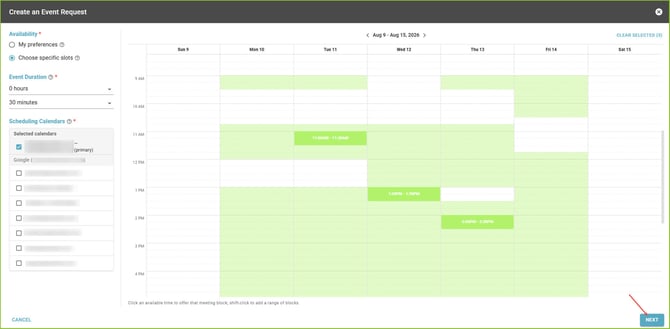
- Selecting Choose Specific Slots will allow the user to select specific time slots to offer to the applicant.
-
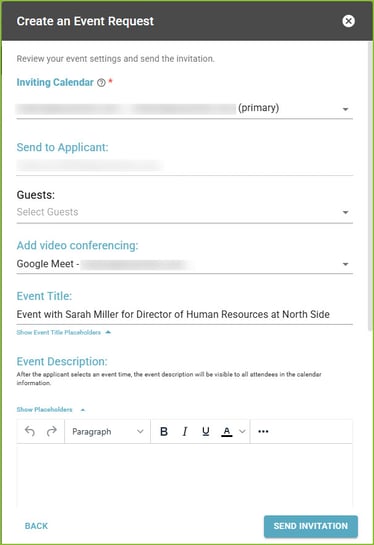
Click Next to navigate to the Create an Event Request form. The form will auto fill based on the Calendar Preferences. Adjustments can be made to the details of the Event as needed.
-
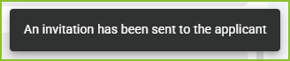
Click Send Invitation to send the invitation to the applicant. Confirmation of sent invitation will appear.
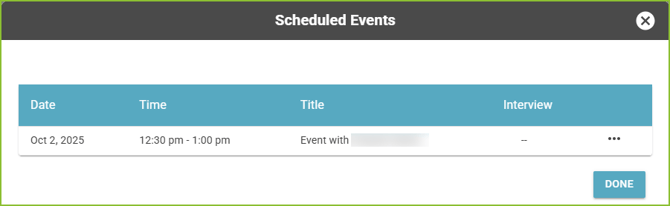
Please note that confirmation emails will be received by the user to confirm events have been scheduled. Use the Scheduled Events areas within the Applicant Record to reference the scheduled event.
APPLICANT EXPERIENCE
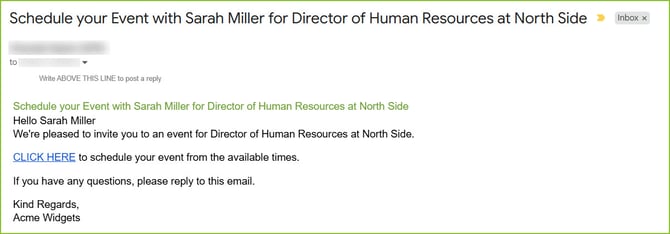
Applicants will receive an email or text message inviting them to schedule an event.
Example email received:
-
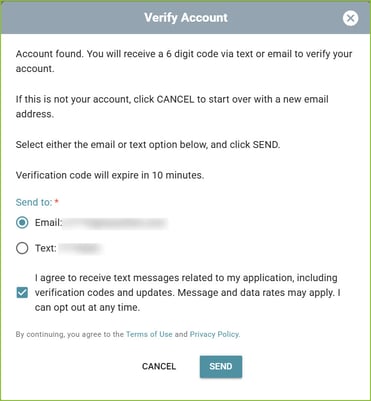
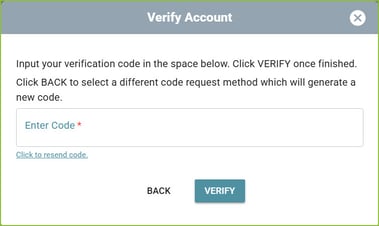
The applicant must verify their email address in order to access the scheduling feature.
-
The applicant will verify their account with a unique verification code.
-
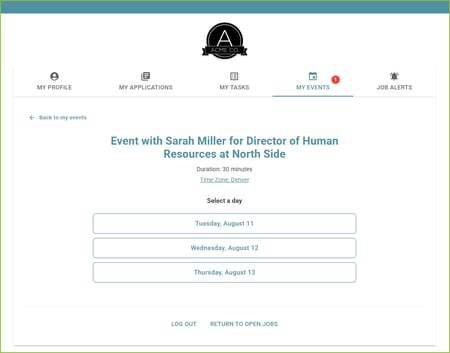
The applicant will select a date from the offered options.
-
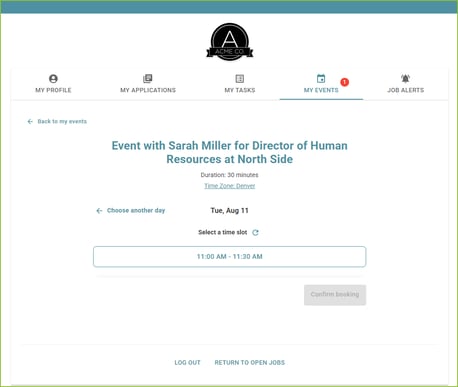
The applicant will select a time from the offered options.
-
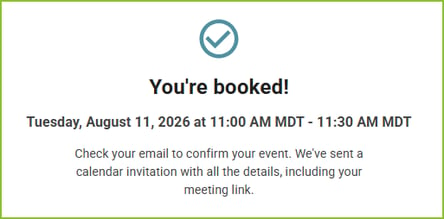
The applicant will click Confirm Booking and the event will be created.
-
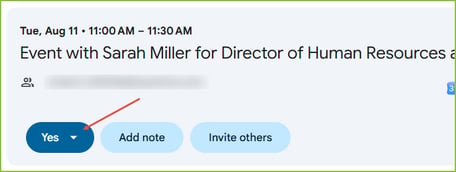
A confirmation email will be delivered to the applicant. The applicant must confirm attendance by selecting YES.