The I9 form must be fully completed by both the employee and employer (see next section below) no later than the 3rd day after the new hire’s first day of employment. For example, if a new hire starts on Monday, the I 9 must be fully completed no later than close of business on Thursday.
There are 2 sections that need completed in the I9 form:
Employee Section
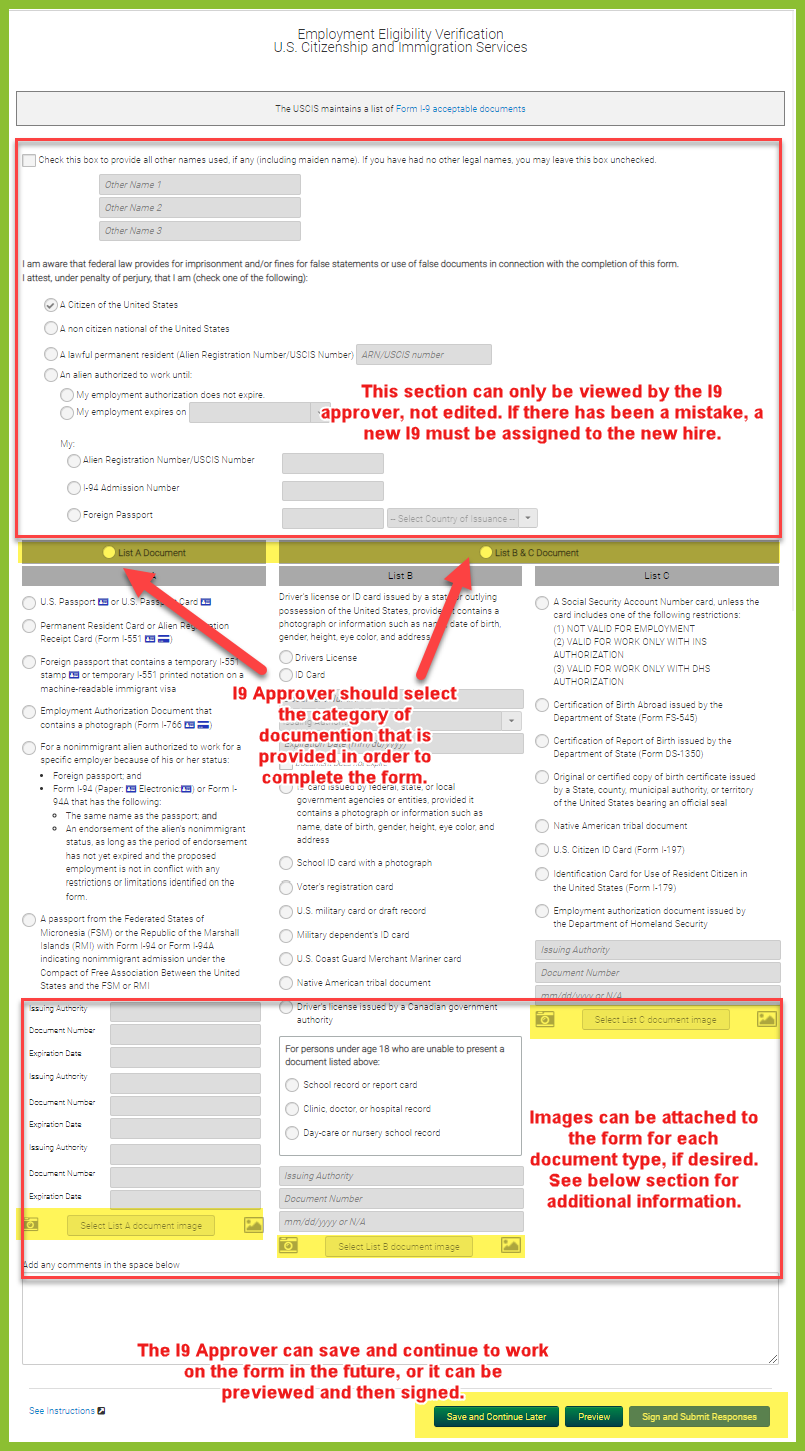
This is the first page of the I9 form where a new hire is asked to confirm whether he/she is a citizen, a non-citizen national of the US, a lawful permanent resident, or an alien authorized to work in the US. All other employee information required is auto-populated from the employee’s OnboardCentric profile.

Employer Section
This is the second page of the I9 form where an employer reviews documentation in person from the new hire to confirm the new hire’s citizenship status/ work eligibility as described in the Employee section above. All other employer information required is auto-populated from the profile of the staff member approving the I9 form.
Once a new hire completes their portion of the I9 (i.e., Employee section), a subtask is automatically generated for the correct roleholder (typically named 'I9 Approver') to complete the Employer section of the I9.
Uploading Images of the New Hire Documentation:
When using the ExactHire OnboardCentric platform, we understand that your goal is to achieve a paperless environment and maintain compliance. OnboardCentric allows the I9 Approver role to upload images of the provided documents at the time of countersigning. The images uploaded at the time of countersigning will be added as a supplemental page(s) to the PDF version of the I9 found in the employee’s completed task list.
Do I have to upload images of the documentation?
This is not a requirement of the Federal Government for employers that do not participate in E-Verify. Additional information can be found on the USCIS website. As a best practice, ExactHire encourages our clients to remain consistent whatever internal process you put in place. Therefore, if you are saving copies of identification for any employee you should do so for each and every employee.
How do we enable this solution?
This solution is on as a default in OnboardCentric. However, it can be turned off, if requested. Simply reach out to support@exacthire.com and ask for the I9 camera to be disabled.
Steps to add images to the I9 during the countersign process:
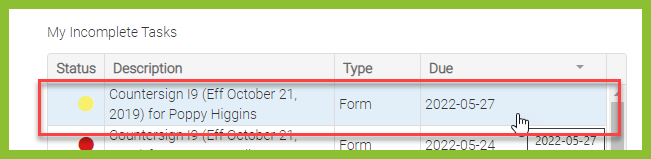
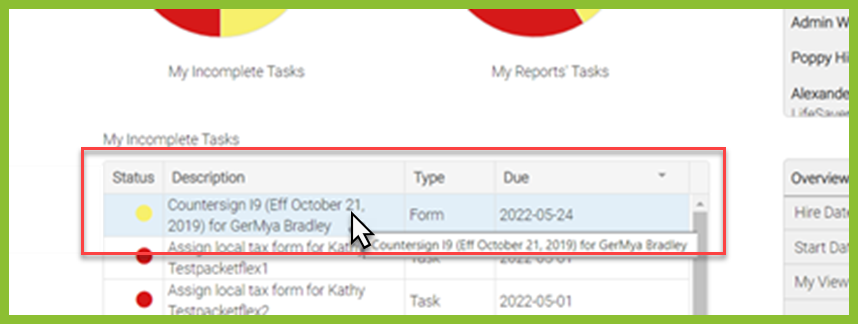
Select the Countersign I9 task for the employee that has presented their documentation.
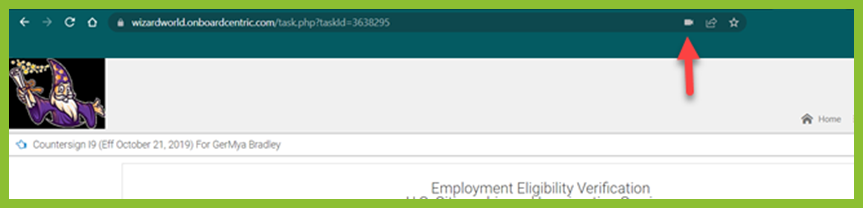
Countersign the I9 form using the identification provided by the new hire. You will notice a little camera in your browser if you have approved the site to access your camera. This article from Google can help you troubleshoot camera access in your browser.
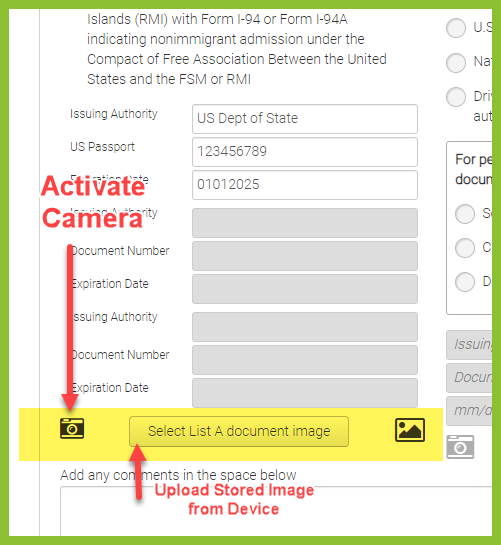
After entering the specific document data, notice a button offering to activate the camera on your device or upload an image previously saved to your device. Each Document type (A,B, and C) will allow you to take a photo or load an image.
Choose the camera icon to activate the camera on your laptop or mobile device.
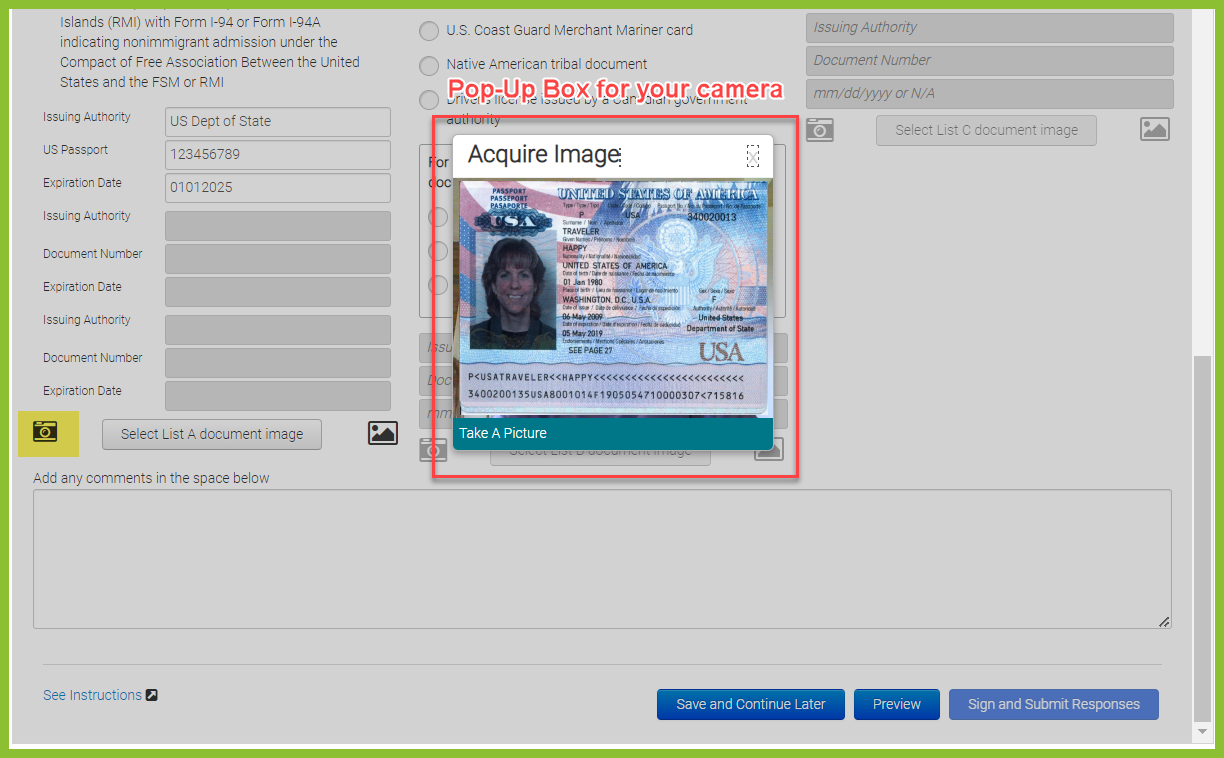
Hold the document in the camera view and take the picture.
Once all the provided document information has been entered into the form and the document images have been loaded, the form must be previewed before it can be signed and submitted. When previewing the form, review the supplemental page(s) to confirm the images are acceptable.
ADDITIONAL RESOURCES: