The Job Approvals feature allows for the Job Details to be prepared and approved by selected team members prior to publishing (to make Active) the job. Some organizations may call these Requisitions. Creating groups of custom Job Approval Questions as well as Job Approval Groups, allows the software to automate the notification process for needed approvals.
In order to create a Job Approval the following will be required:
1. Activate Job Approvals
To activate this feature for your ExactHire ATS account, please contact support@exacthire.com.
2. Job Approval Question Groups
Job Approval Question Groups are the questions required to gather information which will allow Job Approvers to approve the job request. Here is a short video of the process; individual steps are outlined below the video.


In order to create a Job Approval the following will be required:
- Job Approval feature activated for the site.
- Job Approval Question Group(s) created.
- Job Approval Group(s) created.
- Users given the appropriate permissions to utilize the feature.
- Job Approval settings on the Job.
1. Activate Job Approvals
To activate this feature for your ExactHire ATS account, please contact support@exacthire.com.
2. Job Approval Question Groups
Job Approval Question Groups are the questions required to gather information which will allow Job Approvers to approve the job request. Here is a short video of the process; individual steps are outlined below the video.
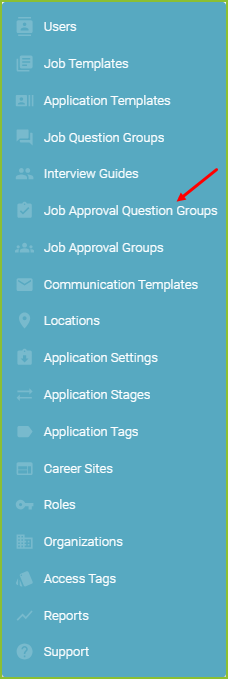
- To create a Job Approval Question Group, begin in the Settings area.
![]()
- Click Learn How to access step by step instructions for working with Job Approval Question Groups.
- Click Manage Job Approval Questions to create new questions, or edit existing questions, in the Question Library.
- Click New Job Approval Question Group to create a new Job Approval Question Group.

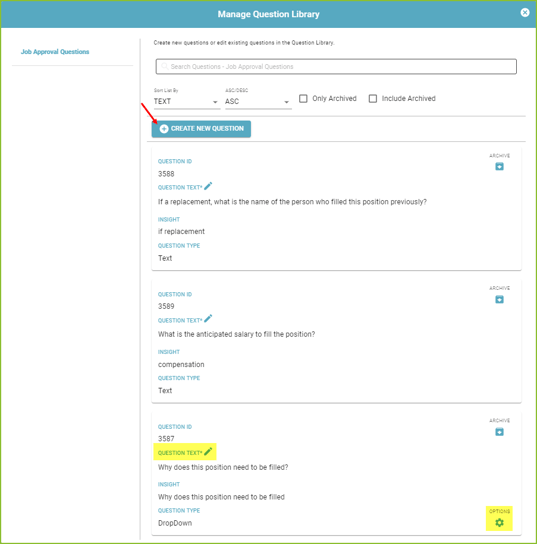
Manage Job Approval Questions
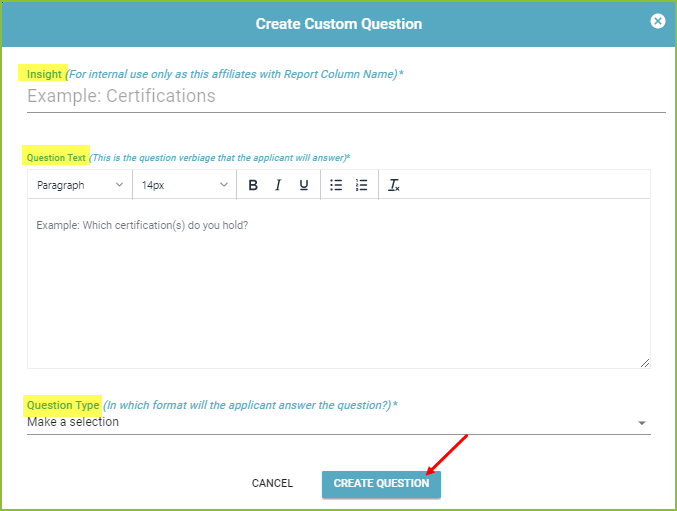
- Use the + Create New Question button to create new custom question(s).
- The Insights field allows for a unique label to be created and associated with the question for reporting purposes.
- The Question Text field allows for the question text to be created.
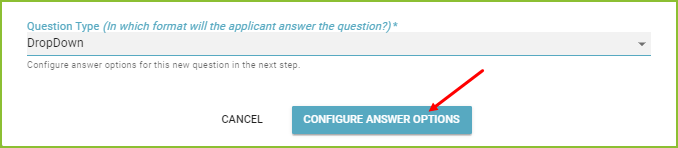
- The Question Type field allows for the answer type to be selected.
-
- If an answer type with options is chosen, the options will be configured using the Configure Answer Options button.
-
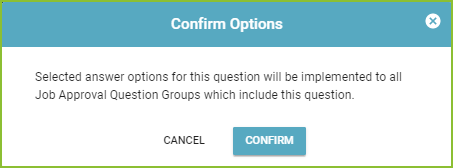
- Create the answer options and click Save Options. A confirmation will appear.
- Click Create Question.
- To edit the question text click the Pencil icon. Click SAVE to save any changes. A confirmation will appear.

- To edit the answer options, for any multiple choice answer types, click the Options icon.
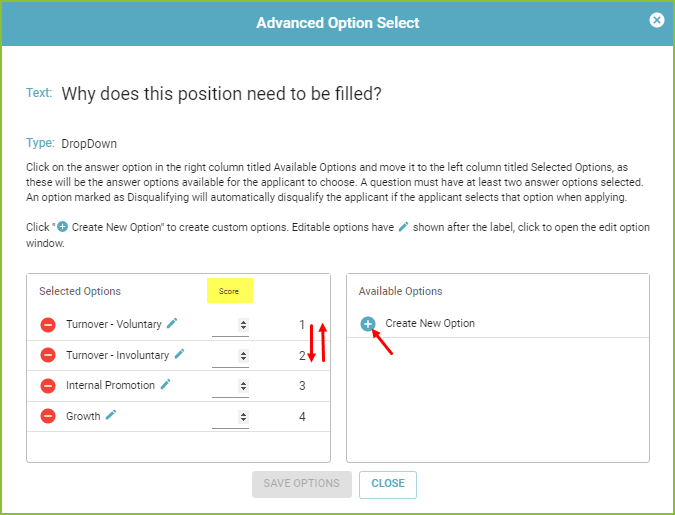
- Click the + to move desired available answer options from the Available Options column to the Selected Options column.
- Use Score to enter scoring associated with specific answer option(s).
- Reorganize answer options by dragging the option up or down the list.
- Create new answer options in the right column with + Create New Option.
- Edit created answer options with the Pencil icon.
- Use the Save Options button to save the edits. A confirmation will appear.
New Job Approval Question Groups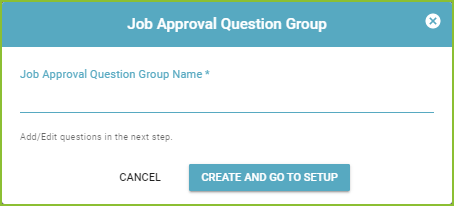
- Create the name of the Job Approval Question Group and click Create and Go To Setup.
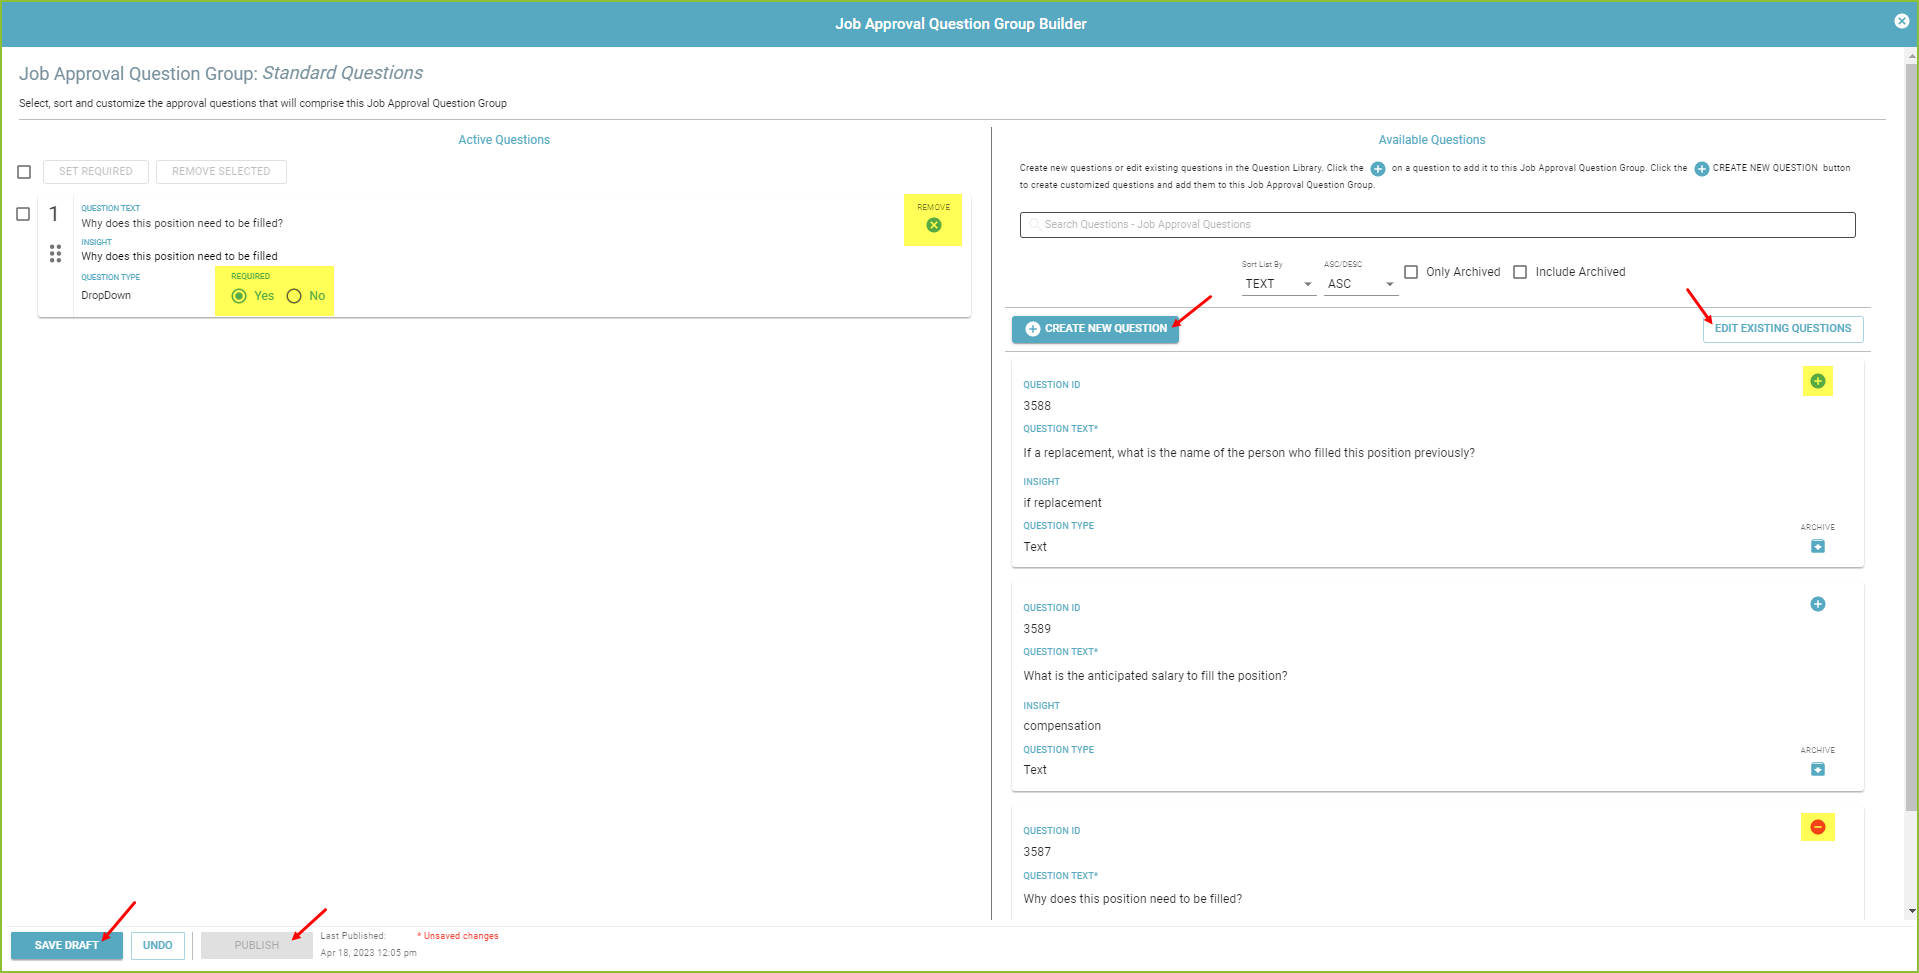
- Add question(s) to the group by using the + and - icons in the Available Questions column or the X icon in the Active Questions column.
- Reorganize the order that questions will appear in the group by dragging the question(s) up or down the list of questions in the Active Questions column.
- Indicate whether or not a response is required for the question with the yes/no toggle.
- Use the Create New Question button or select questions from the library in the right panel.
- Use the Edit Existing Questions button to edit existing job question(s). See instructions above.
- Use the Save Draft button to save any changes to the Job Question Group for review. This is helpful when asking others on the team to preview the Job Question Group prior to publishing for use.
- Publish the Job Question Group edits to be used moving forward with the Publish button. Notice the date stamp tracking the changes
3. Job Approval Groups
Job Approval Groups are the ability to create workflows of selected users for a Job Approval. Here is a short video of the process; individual steps are outlined below the video.
- To create a Job Approval Group, begin in the Settings area.
- Click on Job Approval Groups.
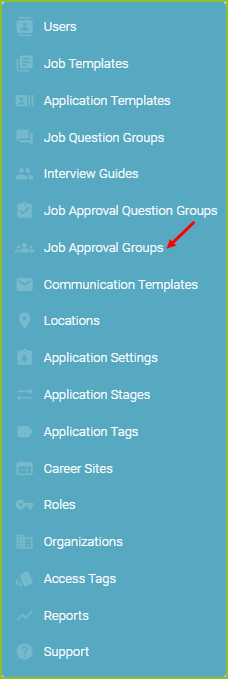
- Click New Job Approval Group to create a new Job Approval Group.

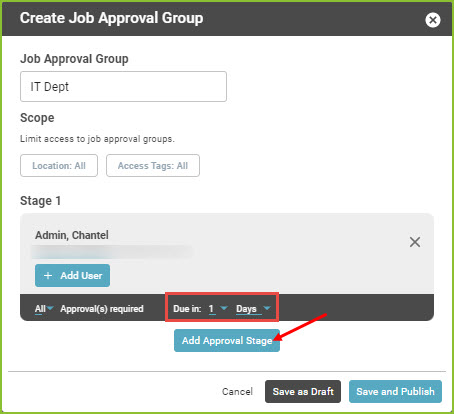
- Add the Job Approval Group Name, such as Leadership Team, Indianapolis Market, IT Department, etc.
- Click +Add User to add the Stage 1 Approver(s). This will be the first Approver(s) to receive the Job Approval request once it has been submitted for approval.
- Multiple users may be added to each Stage.
- Select Approval(s) required, as needed.
- Adjust the Due in details, as needed.
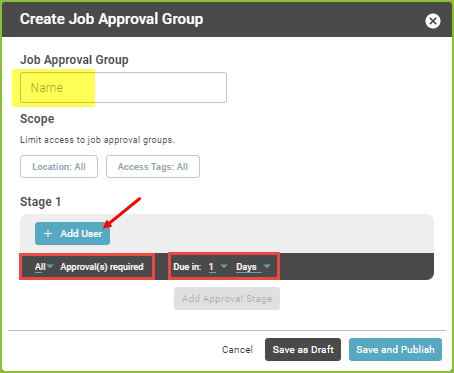
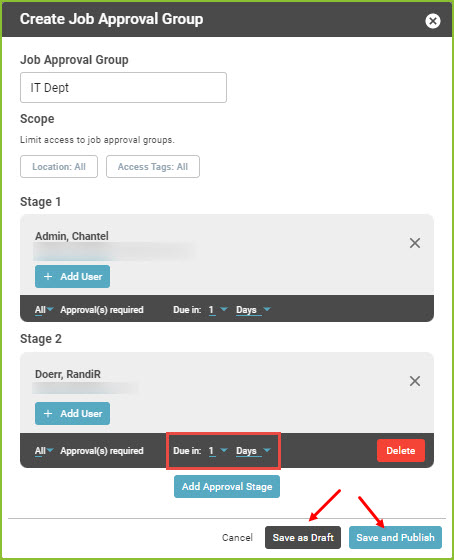
- Add Additional Stage Approver(s), as needed.
- Select the user.
- Adjust the Due in details, as needed.
- Click Save as Draft or Save and Publish.
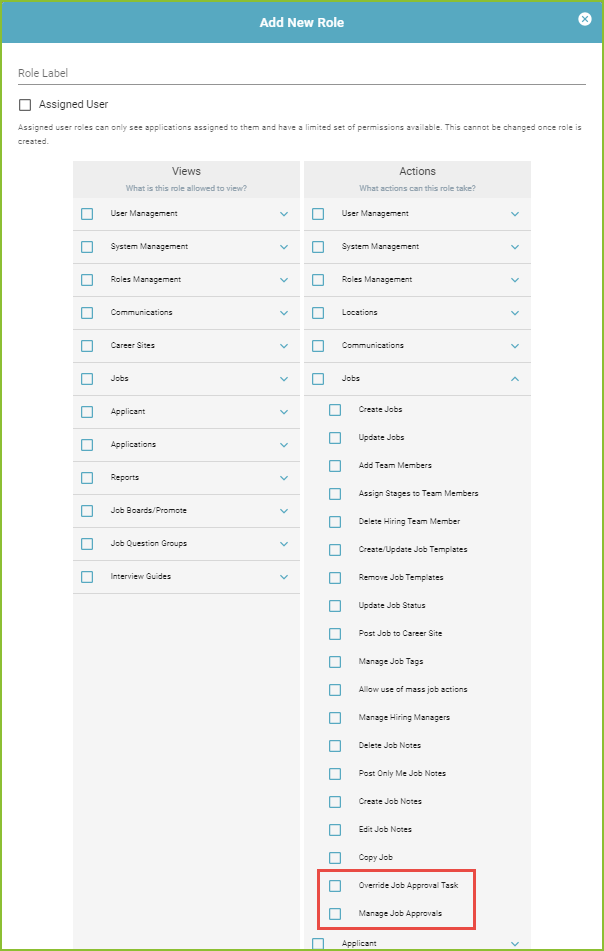
4. Job Approval User Permissions
Ensure that users have the proper permissions to use the Job Approval tool. Review the Roles assigned to users and add the necessary Job Approval permissions.
5. Job Approval Settings on the Job
Once the Job Approval Question Group and the Job Approval Group has been set, it now can be added to the Job. Here is a short video of the process; individual steps are outlined below the video.
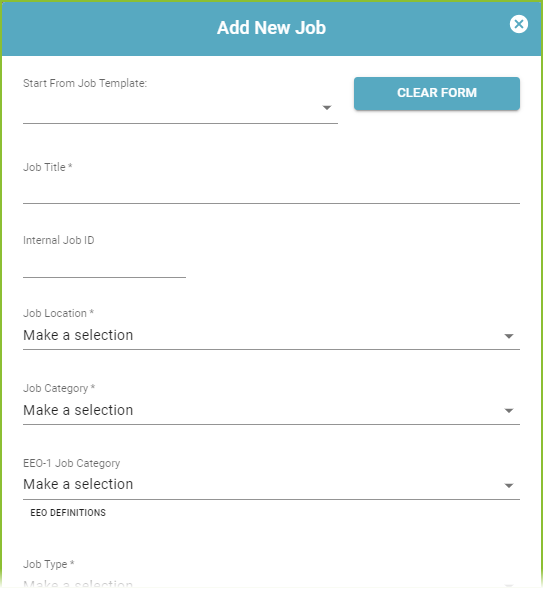
- Create a Job using the New Job Button.

- Complete the required fields in the Add New Job Form and click Add Job.
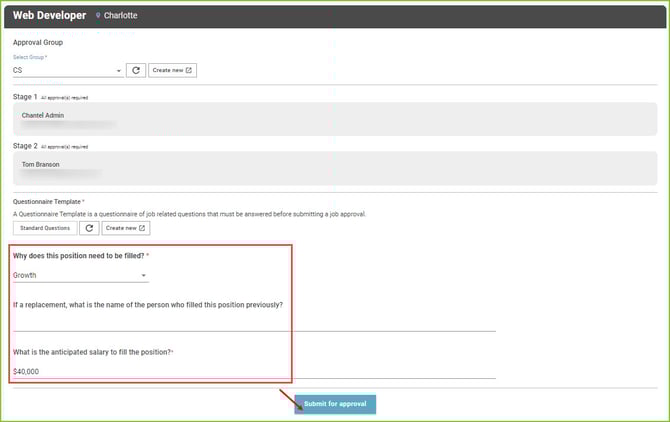
- In the Approvals tab select the Approval Group and Questionnaire Template.
- Answer the questions in approval form.
- Click Submit for Approval.
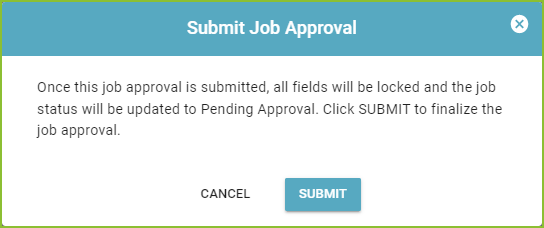
- Confirm by clicking SUBMIT.
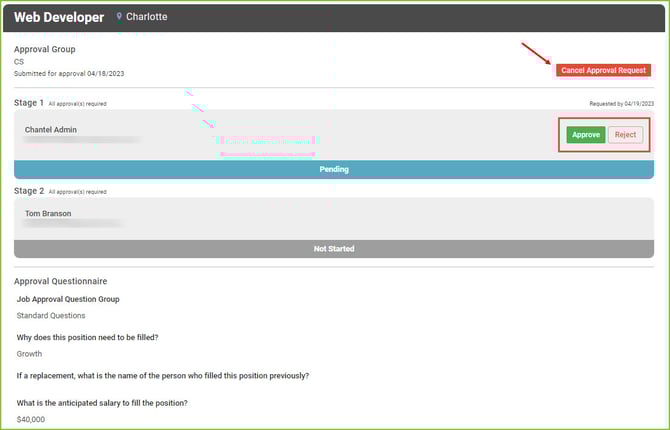
- The automated approval process will begin immediately by notifying the Stage 1 Approver.
- The Stage 1 Approver will Approve or Reject.
- The Approval can also be canceled using the Cancel Approval Request button.
-
- When the Stage Approver 1 has “approved”, the automated approval process will then notify the Stage 2 Approver.
- This process will continue through all Stage Approvers.
- Certain users may have permission to Override Approval of a Stage Approver.

- When the last Stage Approver responds “approved” the status of the job will change to Approved.
- The job status can now be changed to ACTIVE.
- Make the needed selections in the Hiring Team tab.
- Make the needed selections in the and Promote tab.

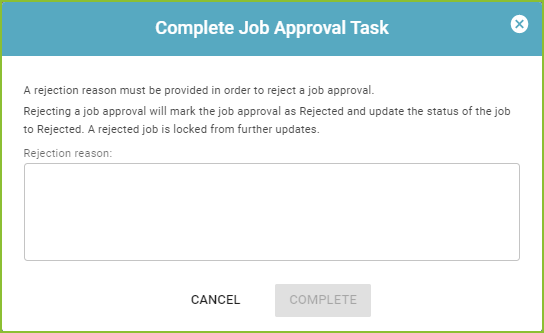
- If any Stage Approver selects “reject” a reason for rejection must be provided.
Job Approval Notifications
- Email Notification will be sent to approvers when their approval is needed on a Job Approval.
- Example:
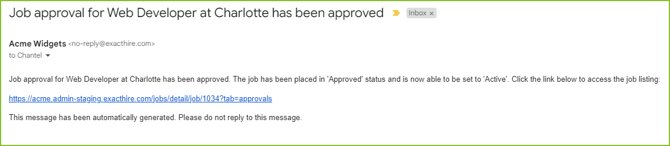
- Email Notification will be sent to both the Hiring Manager of the job and the creator of the Job Approval when the approval is completed and approved.
- Example:
- Email Notification will be sent to the creator of the Job Approval if any approver selects Reject.
- Example: