The requisition management feature of the ATS allows organizations to execute a standardized process for electronically approving new job openings.
In this tip sheet, you'll learn how Manager-level users in the ATS can create and launch a new job requisition request. There are three types of manager users: 1) Posting Manager; 2) Non-Posting Manager; and, 3) Viewing Manager. In this example, we'll focus on a Viewing Manager that has been given access to the Requisitions tab by an Administrator user.
Add a New Requisition Request
As a Viewing Manager level user, log in to the ATS and click on the Requisitions tab within the Jobs Dashboard. You will be able to view the requisitions that have been submitted within the department(s) to which you have access, as well as any requisitions that may await your approval. To create your own request, click the green plus button.

Once a new window pops up, select a Job Template from the templates to which you have access.

Complete all pieces of information on the requisition form. Depending on your user permissions, the "Requisition Approvers" may already be determined for you at the bottom of the form. If these fields are blank, then go ahead and choose the appropriate layers of management for each field. If you cannot find an appropriate user/email address in the drop-down box for each field, then contact an Admin user for assistance in getting that person added to the list as an approver.

Click "Save as Draft" if you are are not yet ready to submit the requisition - perhaps you need to gather additional information first or add new approver options. If you are ready to officially launch it and invite people to submit approvals, then click "Add and Begin Process."
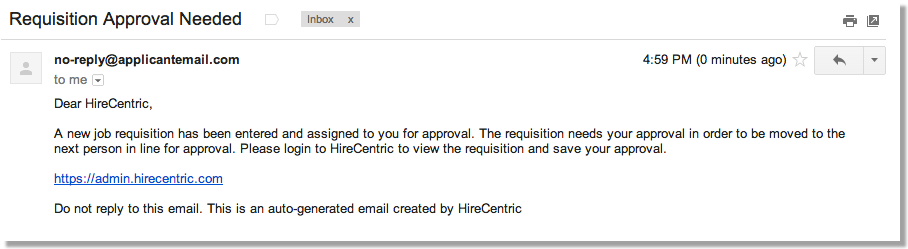
A system generated email will be sent to the first approver in the process. If the approver is a user of the system, s/he will be linked back to the log-in screen:
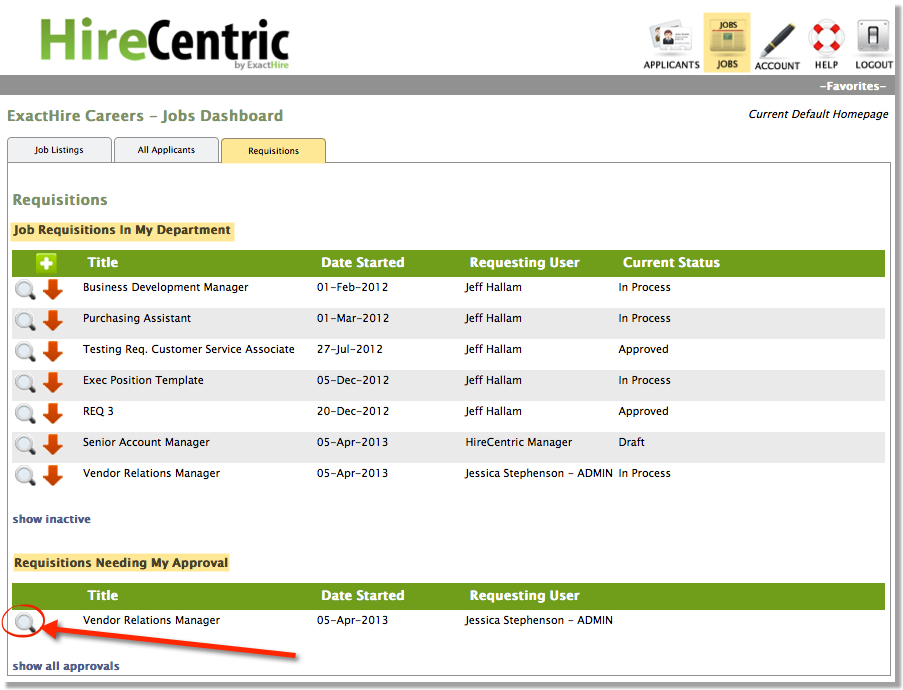
Users of the system will need to click on their Requisitions tab and find the section called “Requisitions Needing My Approval,” and then click on the magnifying glass to see the details of the requisition.
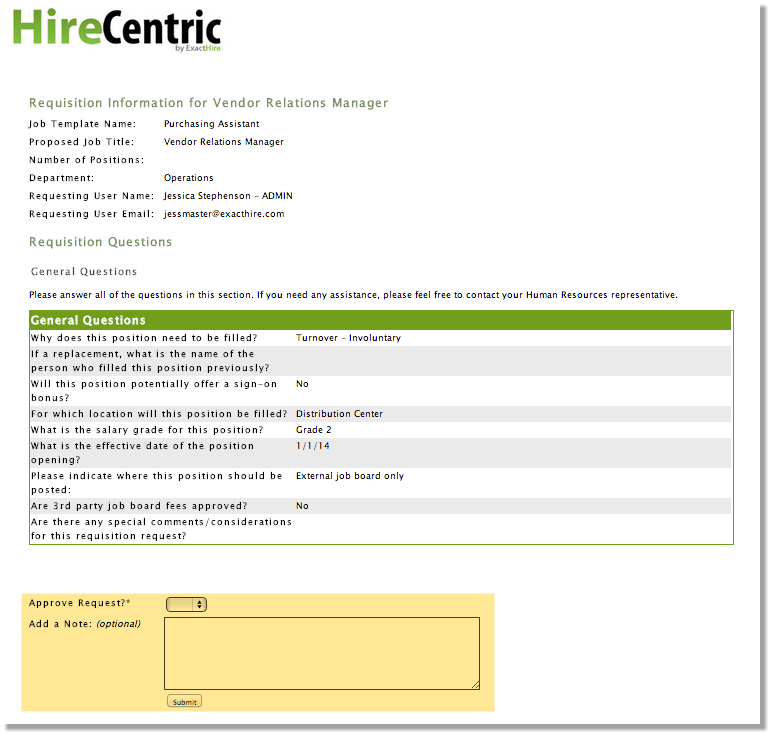
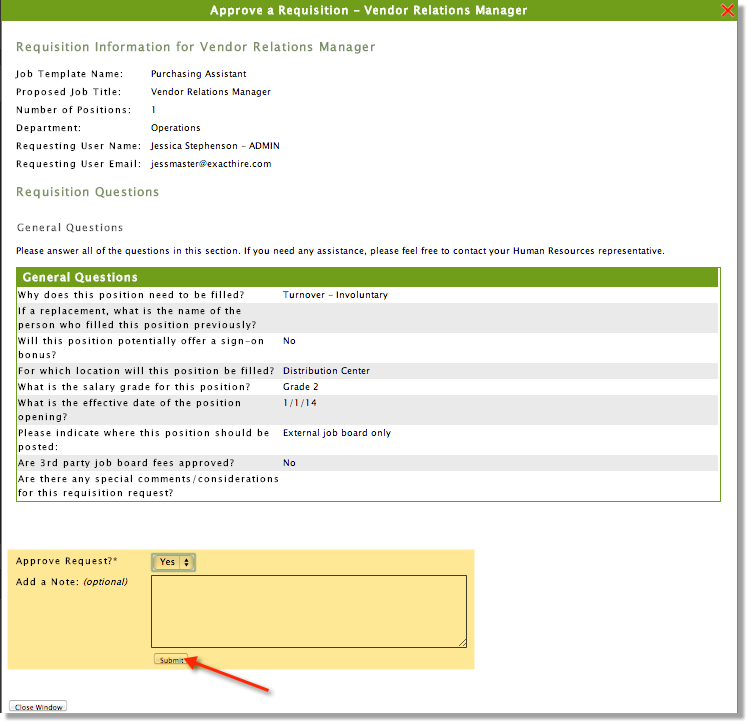
This will give the approver access to view all details of the requisition, approve or deny the requisition, and leave notes as to his/her reasoning.
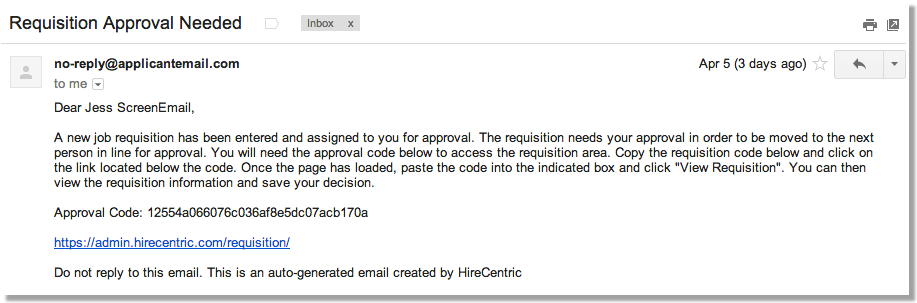
If the approver is NOT a user of the system, then the email sent will prompt the recipient to click on a link and enter an approval code: