Begin by clicking the Work With menu icon and then select the Users dashboard.

Once you are in the “Users” area, the default view assumes you wish to add a new user. (Please note that you may also access existing users in this same area -- the functionality and common uses here are addressed in a separate help sheet.)
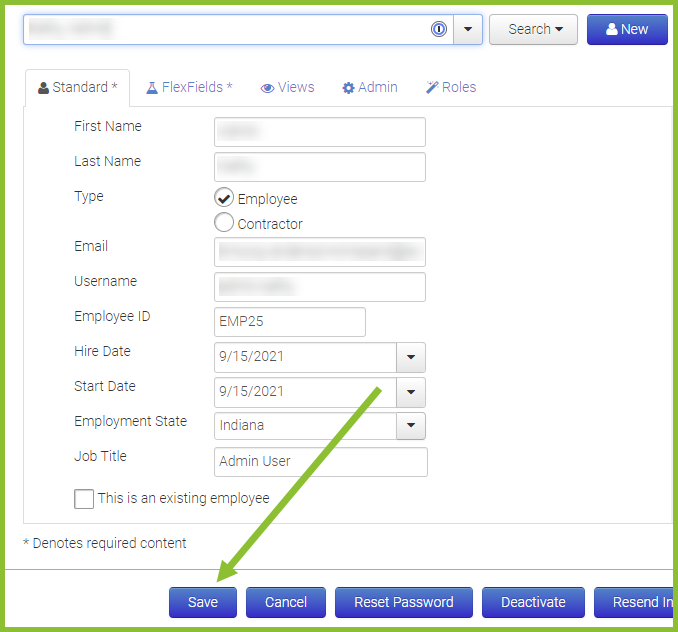
The default cursor position will be in the “First Name” field within the Standard tab. This is the area where the new employee's basic information is entered by an existing administrative user.
If you are adding an existing employee (meaning they do not need new hire paperwork), make sure to check the box near the bottom left of the Standard tab titled "This is an existing employee." Checking that box allows you to enter a new user without having any of the typical new hire onboarding tasks assigned to that person's account.

The FlexFields tab will display your company's customized criteria that drive what documents/forms/tasks will be assigned to the new user, as well as which existing users may be assigned follow up actions on behalf of the new user (I-9 verification, document countersignature, etc.). Common examples include criteria such as division, department, location, organization level, etc. However, one of the true strengths of the OnboardCentric solution is that these criteria may be designed to fit your unique needs. In other words, they may “flex” to help you accomplish as much automation as possible with your onboarding process.
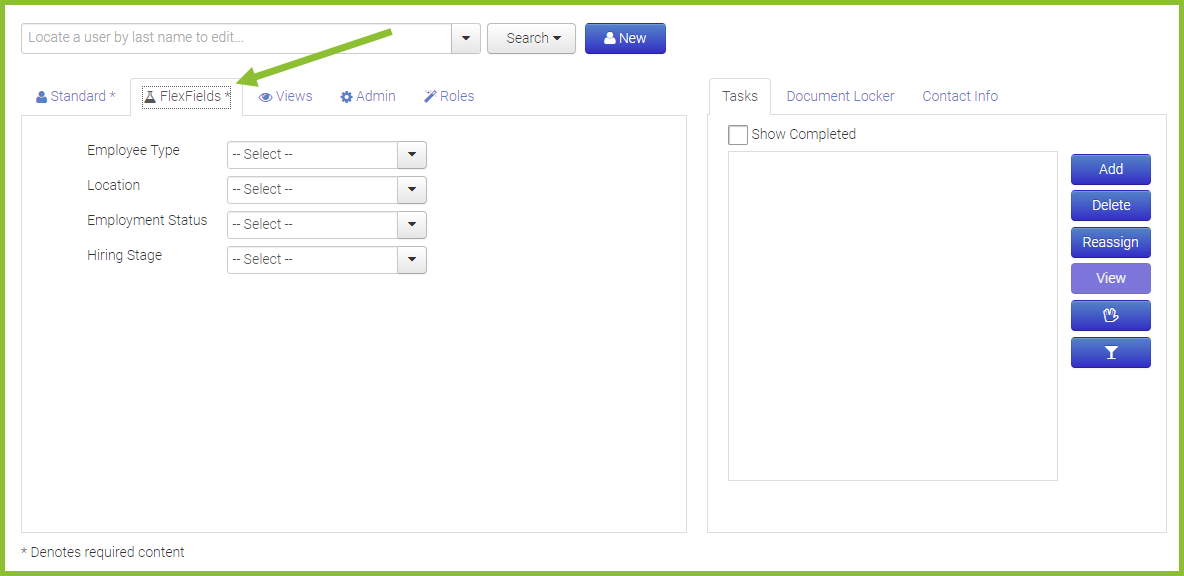
The following three tabs should only be used for administrative users and/or form countersigners of OnboardCentric. If you are only adding a newly hired employee that will not have administrative permissions, you should SAVE the profile now.
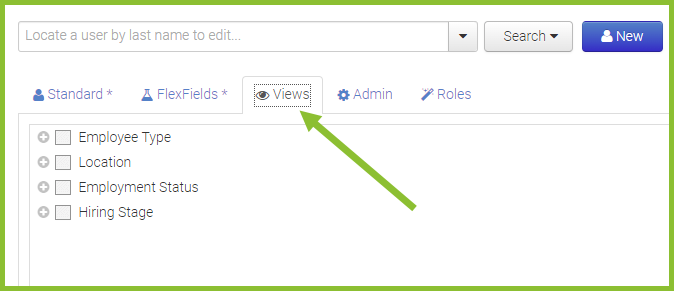
The next section is the Views tab. This area is only populated if you wish to allow specific managers or other staff members the ability to view progress for certain new users as they work through the onboarding process. Viewing rights (if assigned) are based on one or more flexfield options -- typically things such as divisions, departments, etc. For new users who do not need viewing rights, this tab may be skipped completely.
The Admin tab allows you to designate whether the user will have Administrative and/or Support level access to OnboardCentric. If the “Administrator” box is checked for a new user, they will have full access to all functions within the “Work With” menu item at the top right of the home page. If the “Support” box is checked for a new user, this does not provide that user with any access to the “Work With”menu items. Instead, checking this box simply allows an existing Administrator to refer Help requests from future new users to this person. This is designed to help reduce workload for Administrators, without allowing unneeded access to other high-level functions.

The final section is the Roles tab. This is where specific, pre-defined roles may be designated for this new user. It is typically only necessary to designate roles for a new user if they will have the ability to complete follow-up tasks (i.e. Subtasks) for future new hires. Common examples include roles such as "Countersigner" (someone who needs to countersign documents) or "I9 Approver" (someone who verifies I9 documentation for new hires). Users may be assigned more than one role.

One final clarification regarding roles. Many existing users may hold the same role. As mentioned previously, the flex field values entered for a given new user will determine which existing user will be assigned any follow up actions (Subtasks) as the new user completes certain documents/forms/tasks. This eliminates the need for any manual assigning of these follow up actions as new users are added to the system.
Once all relevant tabs have been completed, simply click the “Save” icon at the bottom of the page to activate the new user and generate a welcome email to them. You have now created a new user, and they may follow the links within the email to login and begin their onboarding process.
When viewing your newly added employee or system user, you will see red alerts until the initial email invite hyperlink is clicked and the personal contact information is completed. The alerts appear in the Standard Tab of the User profile, indicating in red boxes *Account Not Activated & *Contact Info Incomplete.
