Simply click on the Work With tab at the top right hand side of the page. Choose Collections, then Documents.

OnboardCentric will display the Document Library. There will be two boxes. The box on the left is a search capability to easily access documents already loaded in the system. The box to the right is the Document List.

To upload a new Document, go to the bottom of the Document List and choose Add New. Documents should always be loaded as a PDF. Any Administrator user of the platform has the ability to load these items into the system. The Admin user will enter information into the Document, When, and Signature Block tabs.
The Document tab allows the user to:
- Name the Document
- Select a tag, if applicable, to help with searching the list in the future. (This is optional.)
- Tags selected will appear in the optional tags box
- Select the PDF file to be uploaded
- List the version, which is important if this document is replaced or updated each year
- Choose the signature requirement
- None - the new hire will be expected to acknowledge that they have viewed the document but no signature will be required
- Self - the new hire themselves will be expected to sign the document
- Identify a countersign requirement if needed
- These options will populate based off of the “Roles” set up within your own site.
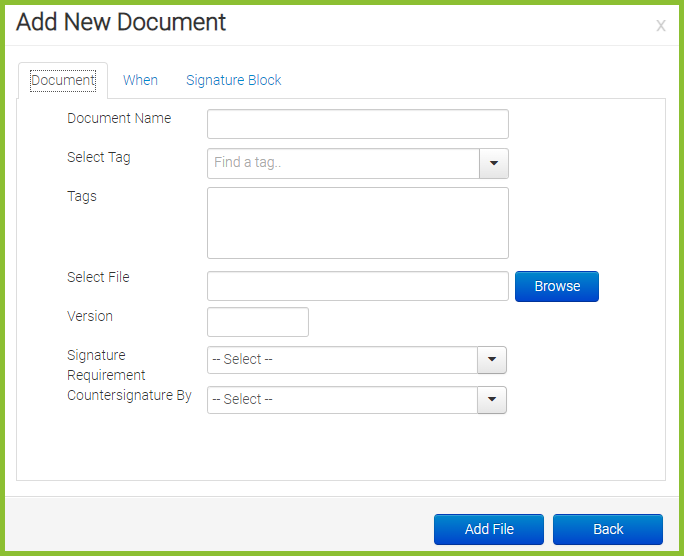
Once this information has been entered, choose Add File. The system will automatically progress to the When tab.
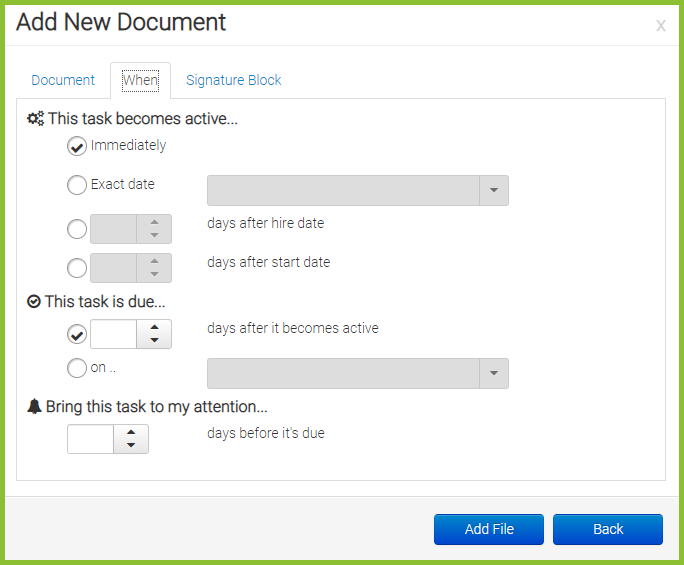
The When tab allows the user to:
- Choose when the task becomes active
- Immediately - as soon as the new hire logs into the system
- Exact date
- X days after hire date - hire date is in relation to the date specified on the user profile
- X days after start date - start date is in relation to the date specified on the user profile
- Identify when the task is due
- X days after it becomes active - in relation to the answer of the first question
- On - a specific date
- Bring the task to the attention of the new hire
- X days before it is due
When the Admin has completed both of the required Document and When tabs, they have the option of utilizing the Signature Block tab. The Signature Block tab is not required when uploading a document.
If you decide not to format your own Signature Block verbiage, the following signature block will appear automatically, “By entering your system password below you will affix your electronic signature to this document. By doing so, you acknowledge that you have read and understand the contents.” Select Add File at the the bottom of the When tab. This will save the Document in the Document Library and will be ready for use.
If the Signature Block tab is going to be used, the Admin can add it when the document is being uploaded initially. Simply click on the Signature Block tab, add the verbiage into the body of the tab, and click Add File.
The Signature Block tab allows the Admin to:
- Override the standard signature disclaimer and enter a custom signature disclaimer
